




What to Caulk — and What to Leave Alone — Before Winter

Every fall we get the same question at the counter: “Where should I be caulking before the cold hits?” It’s a good question, and the answer has two halves. There are gaps that cost you money and cause damage if you leave them open, and there are gaps that are supposed to be there. Seal the wrong ones and you trap water inside your wall assembly, which is a far more expensive problem than a draft.
Here’s how to tell them apart, and how to get the job done before the temperature makes it difficult.
Do it now, not in December
Most sealants have a minimum application temperature, and it applies to the surface as well as the air. Standard acrylic latex products generally need conditions above 5 °C (40 °F) and will fail outright if they freeze before curing. Many polyurethane and hybrid sealants are rated for application well below freezing, but curing slows dramatically in cold weather and adhesion suffers on any surface carrying frost or condensation.
Check the technical data sheet for the product you’re using — the minimum application temperature and the cure time at low temperatures are both listed there. If you’re working in late fall, keep the cartridges indoors or in the truck cab until the moment you use them. A cold cartridge is hard to gun and the bead won’t tool cleanly.
The practical takeaway: exterior caulking is a September–October job in southern Ontario, not a December one.
What to caulk
Around window and door frames
Seal the joint where the frame or brickmould meets the siding, stucco, or masonry — the sides and the top only. This is usually the single biggest air-leakage point in a house.
Where anything penetrates the exterior wall
Hose bibs, dryer vents, exhaust hoods, electrical service entries, cable and satellite lines, light fixtures, gas lines, A/C line sets. Every one of these is a hole somebody drilled, and most were never properly sealed. Seal around the penetration and, again, leave the bottom open so any water that does get in can drain out.
The rim joist and sill plate (from inside)
Go down to the basement and look where the concrete foundation meets the wood framing above it. That joint is a major air leak in most houses and it’s easy to reach. Seal the sill plate to the foundation and the rim joist to the sill plate. Foam works for wider gaps, sealant for anything under about 10 mm.
Exterior trim joints
Corner boards, fascia-to-trim joints, mitres in casing and crown, and the joints in wood or PVC trim that have opened up over the summer. These aren’t just air leaks — open joints let water into end-grain, which is how trim rots.
Interior air-sealing points
Baseboards on exterior walls, the gap around window and door casing, plumbing and wiring penetrations through the top and bottom plates, and the seam where the wall meets the ceiling in unheated bonus rooms. Interior work is comfortable to do all winter, but you’ll notice the difference right away.
Wet areas
Tubs, showers, backsplashes, and sink rims. Not a winter issue specifically, but fall is when people are inside looking at them. Use a mildew-resistant sanitary silicone and replace the old bead rather than caulking over it.
What not to caulk
This is the part that gets skipped, and it causes real damage.
Weep holes in brick veneer
The gaps you see in the mortar joints along the bottom course of brick are drainage openings. Brick is not waterproof; water passes through it and runs down the back of the veneer into the cavity, where the weep holes let it out. Plug them and that water has nowhere to go but into the sheathing and framing.
Window weep holes and the underside of window sills
Vinyl and aluminum windows have small slots along the bottom of the exterior frame that drain the sill track. Never caulk these, and never caulk the bottom edge of the window frame where it meets the wall — that gap is the escape route for anything that gets past the glazing.
The bottom edge of lap siding
Each course of siding overlaps the one below it. That bottom edge is a drainage and drying path for the wall behind it. Running a bead along it seals moisture in.
Soffit, ridge, and gable vents
Attic ventilation moves the moisture your house generates out of the attic. Blocking it in the name of draft-proofing is how you end up with frost on the underside of the roof sheathing and mould on the trusses. Air-seal the attic floor instead — that’s where the leaks that matter are.
Roof flashing that has failed
Caulk is not a roofing repair. A bead of sealant over a lifted step flashing or a cracked boot buys you a season at most and hides the problem while it gets worse. Replace the flashing or the boot.
Deteriorated mortar joints
Crumbling mortar needs repointing, not sealant. Caulk won’t bond well to friable masonry and it traps moisture in the wall.
Anything soft or rotten
Sealant is not a filler and it won’t stop rot. Cut out the bad material, replace it, then seal the joint.
Gaps wider than about 12 mm (1/2”)
Sealant applied too thick in a wide gap sags, cures unevenly, and tears itself apart with the first freeze-thaw cycle. Use backer rod, or foam and then seal over it.
Choosing the right product
| Type | Best for | Watch out for |
|---|---|---|
| Acrylic latex / siliconized acrylic | Interior trim, paintable exterior trim, small gaps | Poor movement capability; needs warm temperatures to apply and cure |
| Silicone | Glass, metal, tile, tubs and showers | Not paintable; won’t adhere well to porous masonry |
| Polyurethane | Exterior joints with real movement, masonry, concrete, driveways | Longer cure; typically needs painting for UV protection |
| Hybrid / MS polymer | Almost any exterior joint — good adhesion, high movement, paintable | Higher cost per cartridge |
| Butyl | Flashing, gutters, metal-to-metal laps | Messy to tool; stays soft |
For anything on the exterior that moves — window perimeters, expansion joints, dissimilar materials meeting — go with a polyurethane or hybrid rather than a bargain acrylic. Joint movement is highest in winter, and a low-movement product will simply split.
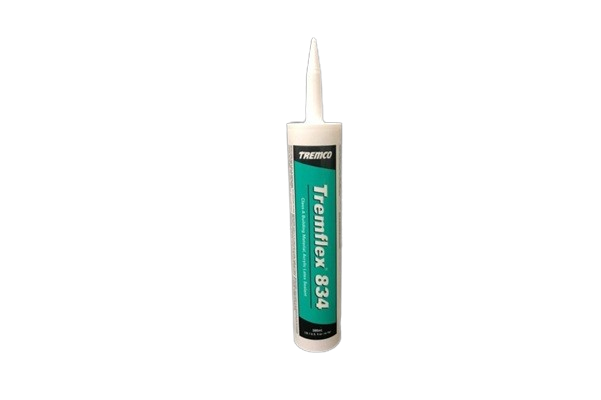
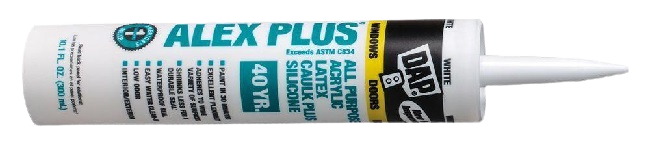
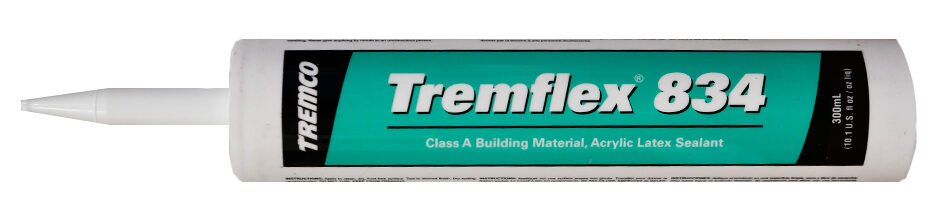
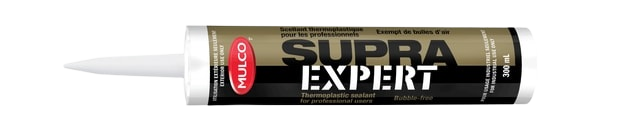
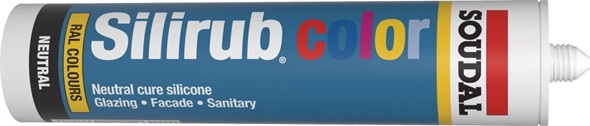
We carry Tremco, DOWSIL, Mulco, Sika, DAP, and Soudal, and we can pull the technical data sheet for any of them if you want to confirm movement capability, substrate compatibility, or the low-temperature application limit before you buy.
Getting a bead that lasts
- Remove the old sealant completely. New caulk applied over a failed bead adheres to the failed bead, not to the building. Use a scraper or a removal tool, not just a fresh cartridge.
- Clean and dry the joint. Dust, chalking paint, and mould all prevent adhesion. Solvent-wipe non-porous surfaces and let them flash off.
- Use backer rod in deep joints. The rule of thumb is a bead about half as deep as it is wide, bonded to two sides only. Backer rod sets the depth and prevents three-sided adhesion, which is what causes joints to tear.
- Cut the nozzle small and at an angle. Most people cut too much off. Start smaller than you think and open it up if you need to.
- Push the bead, don’t pull it. Pushing forces sealant into the joint instead of bridging over it.
- Tool it within the skin-over time. Tooling forces the sealant against both faces of the joint. Once it skins, you’re just smearing the surface.
- Give it time before the freeze. Check the cure schedule on the TDS and plan around the forecast.
A quick fall walk-around
Take twenty minutes with a notepad:
- Walk the perimeter and look at every window and door on all four elevations
- Check every penetration — vents, hose bibs, wires, pipes
- Look at trim mitres and corner boards for open joints
- Confirm the weep holes at the bottom of brick veneer are clear, not plugged
- Go inside and check the rim joist in the basement and the trim on exterior walls
- Note the linear metres so you buy enough cartridges the first time
A typical house takes four to eight cartridges for a thorough exterior pass. Bring your list to the counter and we’ll help you match the right product to each joint.